How to Make Jam
Jam making is growing in popularity again after years of decline. And that's a good thing, because there's nothing nicer for breakfast or afternoon tea than a hefty dollop of home-made jam. Jam is also a great kitchen standby. Delicious and speedy cakes and puddings are never far way if your cupboard is stocked with jams and preserves.
There could be Orange Marmalade Cake for tea, or jam tarts. And if you're stuck for a tasty pudding to offer the starving hordes come dinnertime, then a traditional jam roll and custard fit the bill perfectly.
Jams and preserves are endlessly useful, but they're not at all difficult to make. Even a novice cook can easily learn how to make jam. And it doesn't need to be a big production. I remember veritable orgies of jam making, where the house looked like an industrial kitchen and the smells attracted colonies of wasps for days. But that's not at all necessary.
These days I make jam in smaller quantities throughout the year, whenever I find something good to pick or our local farm or supermarket has fruit on special offer.
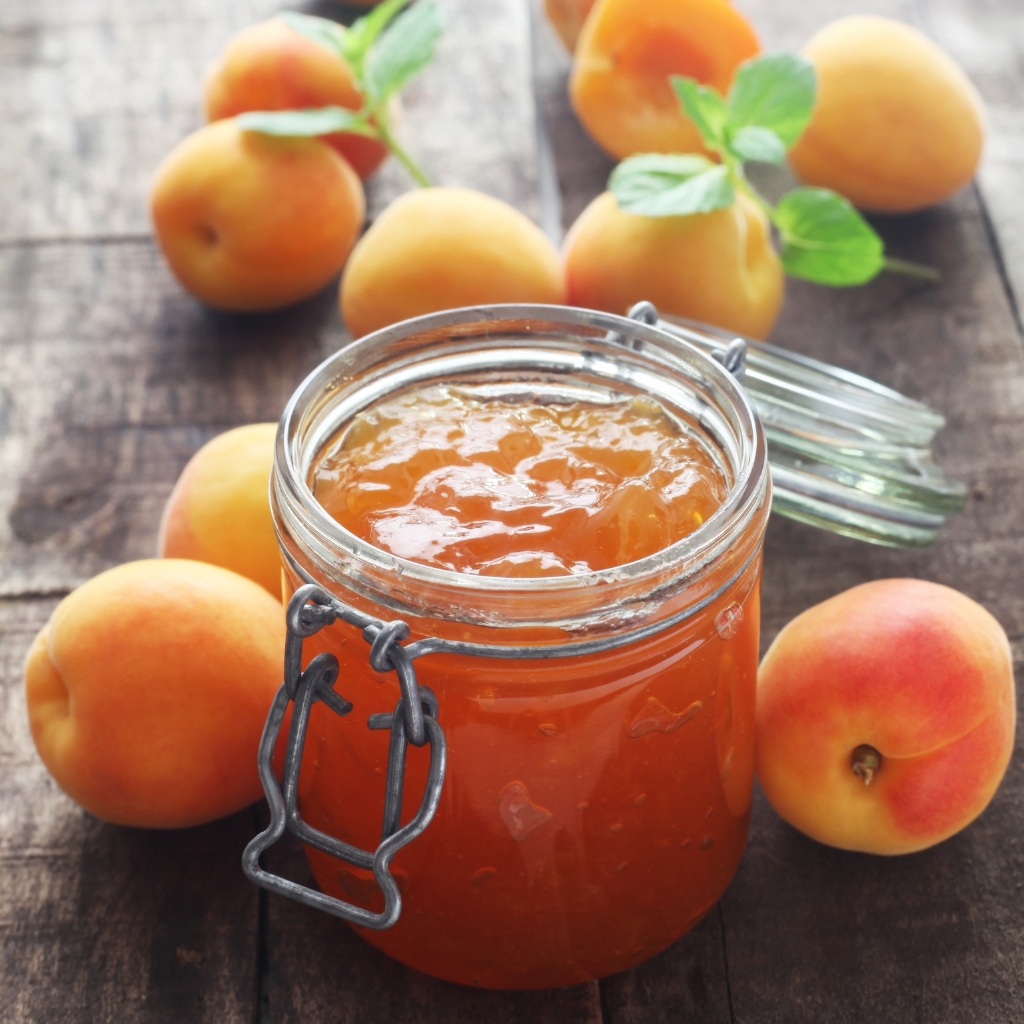
I traditionally start in February with English Marmalade, following in March/April with rhubarb and elderflower. Then it's on to strawberries, apricots, cherries and all the soft fruits. And finally my jam-making year ends with blackberry jam, elderberry jam, apple jam, plum jam and pear jam.
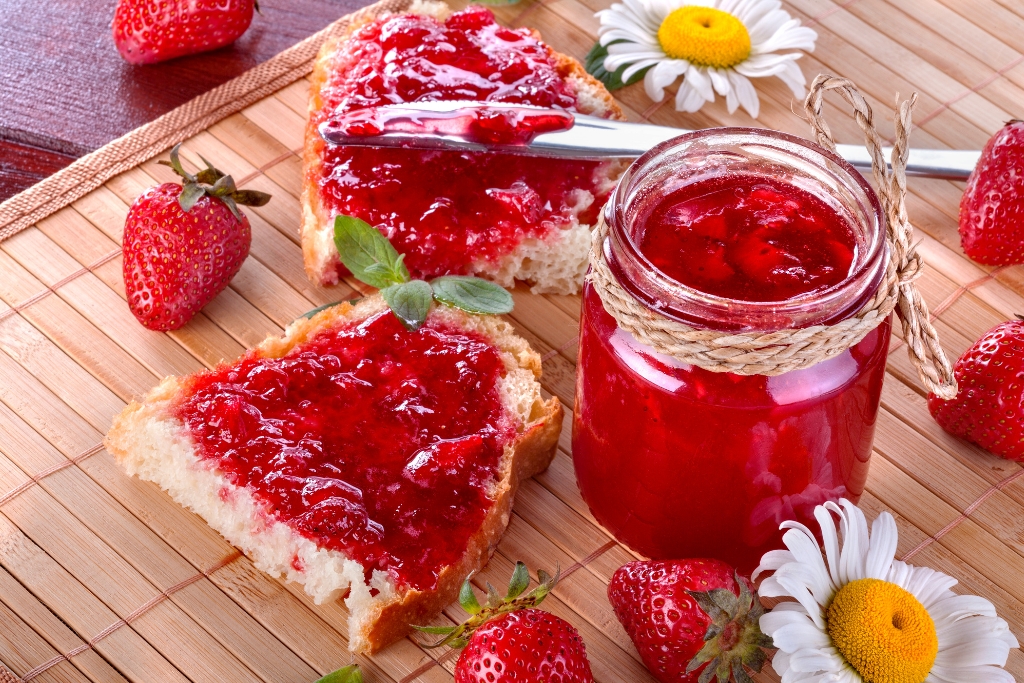
 Strawberry Jam © ddsign stock | Getty Images canva.com
So What Do You Need to Make Jam?
Very little that you don't already have in the kitchen.
- Jam pan or large stainless steel pot
- fruit and sugar
- a long-handled spoon
- jam jars, lids and labels
But if you want to make jam on a regular basis - or if you want to learn how to make jam in larger quantities - you can check out my list of jam making essentials.
It's very important that everything you use while making jam is scrupulously clean - if it's not, your jam will spoil. So before you begin, wash everything - pan, spoons, jars etc. - in hot soapy water. Place your clean jam jars and lids still wet onto a baking tray and keep them in a very low oven until you're ready to use them.
How to Make Jam the Traditional Way
Traditional jam is made from nothing more than fruit and sugar in a ratio of 1:1.
If you want to make low-sugar jam, especially when using soft fruits like strawberries, raspberries or blueberries, you might have to add a little pectin to achieve a good set.
In either case, weigh your washed fruit and add the same quantity of sugar - or a little less. (I've gone as low as 2 parts fruit to 1 part sugar, but the jam will then be a very soft set.)
Jam bubbles up while cooking, so don't fill your jam pan too full - half-way is probably plenty. If you have too much fruit, use a bigger pan or make jam in two batches.
I tend to leave my fruit and sugar mix for a couple of hours, until the juices run. Then place the pan on a low heat and warm until the sugar is completely dissolved. Stir a few times to prevent the mixture sticking to the base of the pan and brush down any sugar crystals clinging to the sides. You're ready to move on when you lick the spoon and there's no sugar crunching between your teeth.
Now turn up the heat and bring your jam to the boil. Watch it: the mixture will rise, so be careful when stirring! Boil your jam rapidly for five minutes, then turn the heat down.
Place a teaspoonful of mixture on a cold surface - maybe a small plate you've left in the fridge for half an hour - and leave to cool for a couple of minutes. If your jam is ready, it will form a skin, which wrinkles when you push it with your finger.
If you don't see that, turn the heat up again and boil for another five minutes before testing again. Boil and test until you get a good set, then fill your clean jars, cover the tops with wax paper and seal tightly.
Don't forget to label your jars before storing.
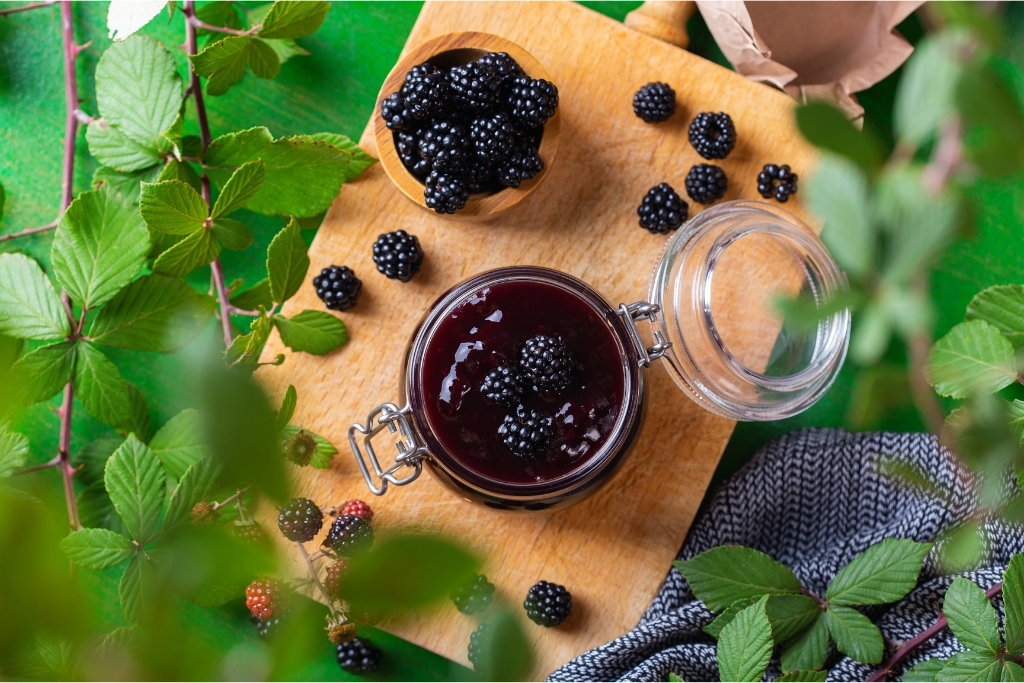
 Blackberry Jam © antoninaviasova | canva.com
Jam Making Tips and Tricks
After the basics on how to make jam, here are a few tips and tricks that I've picked up over the years that may help you get the best possible results. They're not obligatory, so try them as you need them or feel experimental.
- Elderflower syrup or cordial makes a great addition to rhubarb jam or strawberry jam ... it's amazing how the taste changes!
- Soft fruit jams don't set as easily as stone fruits as they don't contain so much pectin. To get a more firmly set jam use jam sugar with added pectin, add some liquid pectin to the pan after boiling the jam or add a shredded apple or two to your fruit mix.
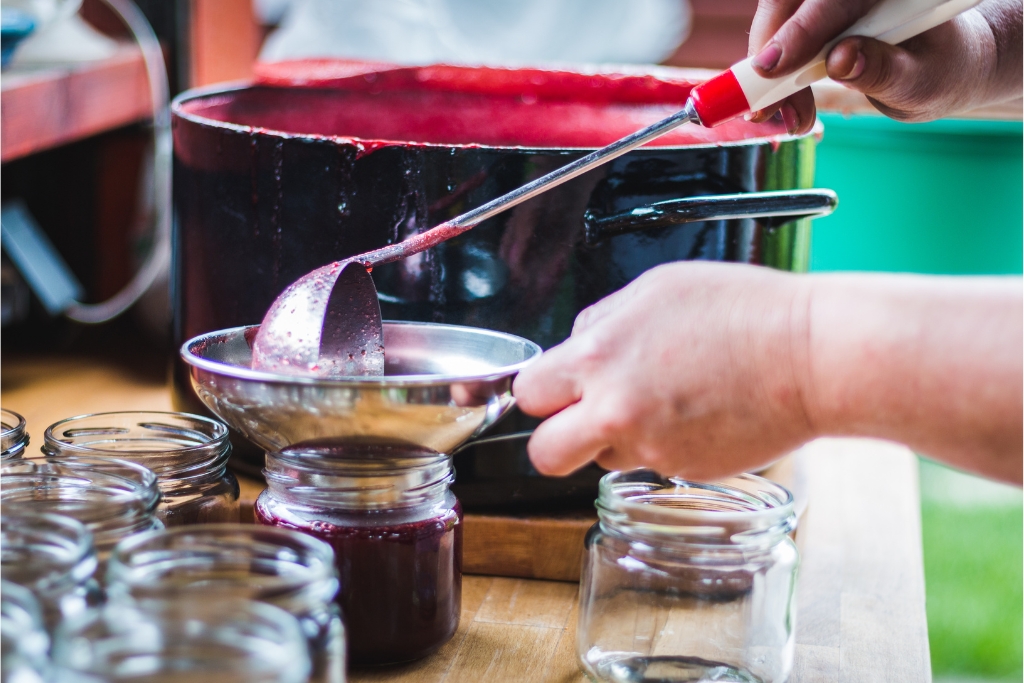
- Don't fill your jam jars as soon as your jam is ready. Leave it to cool down for 30 minutes first. If you fill your jars while the jam is very hot, the fruit will all float to the top.
- Skim off any foam that rises to the top while your jam is boiling to give a nice clear looking jam. If there's only a little foam, add a knob of butter to the pan right at the end and stir it in. That will dissolve the foam.
- If you find yourself out of jam in the middle of the winter, don't despair. You can use packets of frozen fruit - raspberries or mixed fruits - to make jam quickly and easily. Just mix with the same quantity of sugar and keep over a low heat until the sugar is dissolved and the fruits are thawed before boiling.
How to Make Jam in a Bread Maker
Bread makers are gaining in popularity because they're just so easy to use and even a basic model turns out decent bread in a very short time. The better ones, like this Kitcanis Breadmaker also make pastry and - more to the point here - jams and preserves.
I've had my bread maker - a Kenwood - for several years and use it almost daily for bread and pizza and pastry dough. Why don't I use it for jam? Because my bread maker is a compact model with a maximum loaf size of 700g flour. So making jam in the machine would only produce 2-3 jars - which won't last very far in our house!
But if you're just learning how to make jam and want to try your hand with a small quantity first, then giving your bread maker a chance may be a good idea.
The principles of how to make jam will be exactly the same, but while you can be flexible with the quantities when using a jam pan, you must stick very carefully to the manufacturer's instructions when using your bread maker. If you don't the results will be disappointing at best ... or you may have to clean a very sticky bread maker at worst!
So, now that you know how to make jam, what jam should you make? The one you like best, of course! Here are recipes for some of my favourites:
- English Marmalade - bitter and sweet and wonderfully fragrant. I make larger and larger quantities every year ... and they never last much beyond Easter regardless!
- Strawberry Jam - English strawberries are the tastiest in the world. That makes this the tastiest strawberry jam in the world!
- Blackberry Jam - the essence of autumn, and sooooo useful for puddings! You should learn how to make jam for this one alone.
Return from How to Make Jam to the recipes page.


